Voice Aloud Reader is an application that can read text aloud on Android devices through the device installed speech synthesis engine (TTS). You can use it to listen to news apps (such as Flipboard, BBC News, NPR News, etc.) that do not yet provide audio for articles, web pages, emails, and any content that can be exported through Android's "share" or copy/paste function.
The most important part of this manual is about how to import the content to be read aloud into the @ Voice application, so we will focus on "1 The "Get Content" section begins with an introduction. Next, we will discuss "2 The "Menu and Control" section discusses the operation of the program, and finally in "3 The "Advanced Themes" section ends. All these parts are important, so please read them as much as possible. We have tried our best to make them concise and clear.
We have also prepared some video tutorials for you on YouTube (English version only), which you can choose to watch.
1. Obtain content
You can import text into @ Voice in three ways: using the "Share" feature in other apps, copying and pasting text into the @ Voice screen in other apps, or opening text and HTML files from the device's file system. The 'sharing' function is the most practical, so we will start introducing it from here.
1.1 Use the "Share" function in other applications to send text to @ Voice
In the Android web browser, when you see an interesting news article and want to listen immediately or add it to the @ Voice list later, press the menu button (the three vertical dot buttons in the upper right corner), find the "Share" or "Share Page" menu items, or a button with three connection points Click on it and you will see a list of installed apps that can accept web pages. If you want to listen to or read text in @ Voice now, click the @ Voice button in the list; If you want to save this webpage to the list of articles to read/listen to later, click the "@ Voice Add to List" button.
In many other applications, especially in news reading apps, you may find a similar menu function or a "share" button with the following icon. If there is no "share" button, you can also use the "send via email" function, such as a button with the following icon. Some applications always display these buttons at the top or bottom of the screen. In other applications, you need to tap the text to display these buttons (such as BBC News, Flipboard).
1.2 Use copy/paste to import text into @ Voice
In many programs that display text, you can hold down your finger on the text to make a "copy handle" appear - usually marked in blue. You can drag these handles to select the range of text to copy, or you will usually see a "Select All" button at the top to select all the text. Then click the 'Copy' button - it may be at the top or bottom, or under the 'Overflow Three Vertical Points' button. The selected text is now saved in the internal 'clipboard' buffer. When you return to @ Voice, select 'Paste Text' from the menu, or if visible, click the paste button at the top. You can now start listening to this text, or use the 'Save' button/menu to save it for later use.
1.3 Open files from device storage
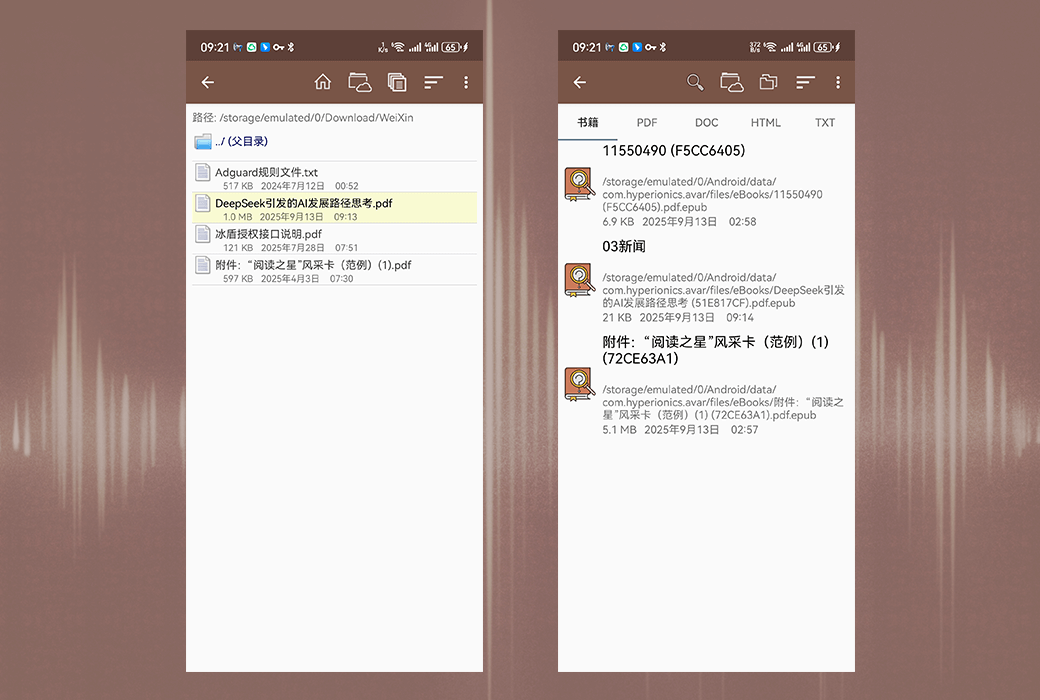
On the @ Voice home screen, click the "Open" button at the top. It has two modes to choose from, you can browse by file type through the tags marked as book, PDF, DOC, HTML, and TXT at the top, or switch to the "Browse by Folder" mode, which will take you to our file browser and display the contents of the application's default folder at the path/sdcard/Android/data/com. hyperionics.avar/files. You can browse folders by clicking on the "Parent Folder" option, enter other subfolders, and select files from them to open and read. Our simple file browser also provides the ability to rename and delete selected files. You can also click on any file to display a prompt to delete it, while tapping will only highlight the file name, allowing you to click the "Select" button on the bottom right side.
2. Menu and Control
@The Voice screen consists of three parts: the top menu bar, the larger middle section for loading the text of the article to be read aloud, and the bottom control bar.

2.1 Bottom Control Bar
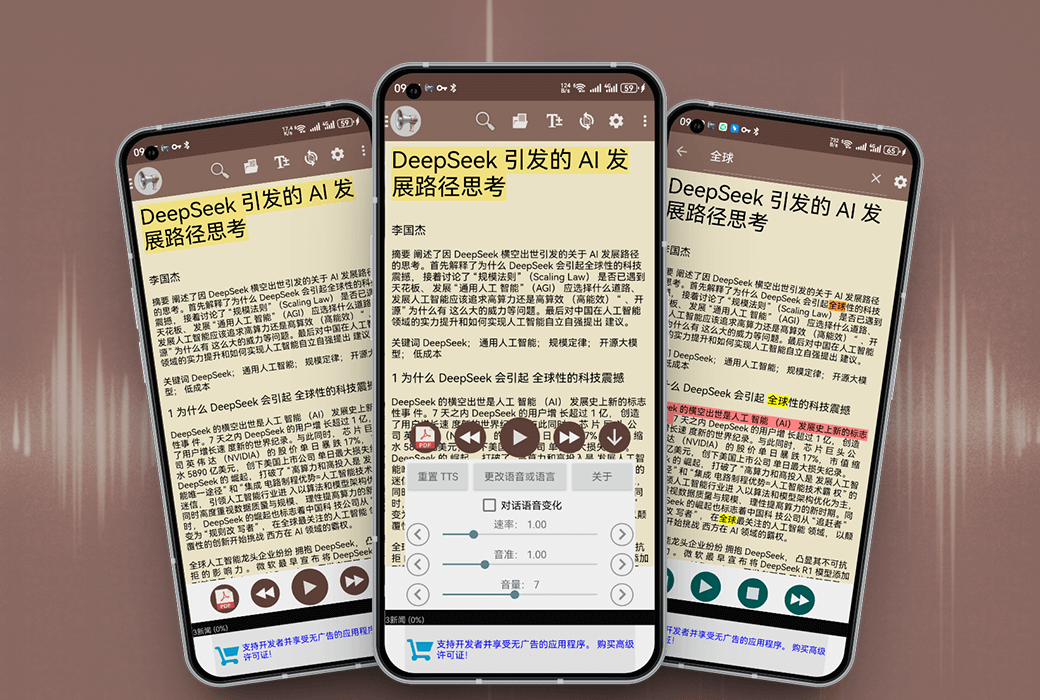
The bottom control bar provides buttons for start/pause/resume voice, as well as buttons to move to the previous and next sentence. There is also an optional repeat button (for repeating articles or the entire list), which is hidden by default and can be enabled in the screen and sleep timer settings under the settings menu. The small button on the far right allows you to expand the control panel to a more complete version with voice control, or fold it back to view more text. The following image shows what the @ Voice control panel looks like when it is unfolded:
2.2 Middle Text Area
This is where the text of the article to be read aloud is loaded - or you can read it from the screen if you wish. You can move the text up and down with your fingers, or move horizontally after switching to horizontal scrolling mode to change the 'page'. Double click any sentence to highlight it - if you click the play button, this is where the reading will be restored from.
Long press a word there to select it - a selection handle will appear, as well as an additional toolbar, which I call the reference toolbar. You can expand the selection range of text by moving the blue handle, and use the buttons on the reference toolbar to manipulate the selection, such as copying it, using Google Translate, looking up words in the dictionary, setting bookmarks, accessing and searching Wikipedia, etc. The text selection handle and reference toolbar are shown below:
The buttons on the reference toolbar, from left to right, are: Dictionary, Google Translate, Copy, Select All, Search Selected Text, Bookmarks, and more menus, where you can find Wikipedia, Google, Share Selected Text, Translation Settings, Dictionary Settings, and Edit Voice Access.
2.3 Menu
@The Voice menu button is located in the upper right corner of the screen and is a button with three vertical dots. If space permits, some of the most commonly used menu functions may appear as buttons at the top of the screen, including search, open, reload or clear, page view buttons, and sometimes more. Actually, which buttons are displayed depends on your settings. In the "Settings" section of the menu, under the "Additional buttons displayed in the top bar" item, there is also available space. Here is what the top bar on my device looks like:
The buttons from left to right are:
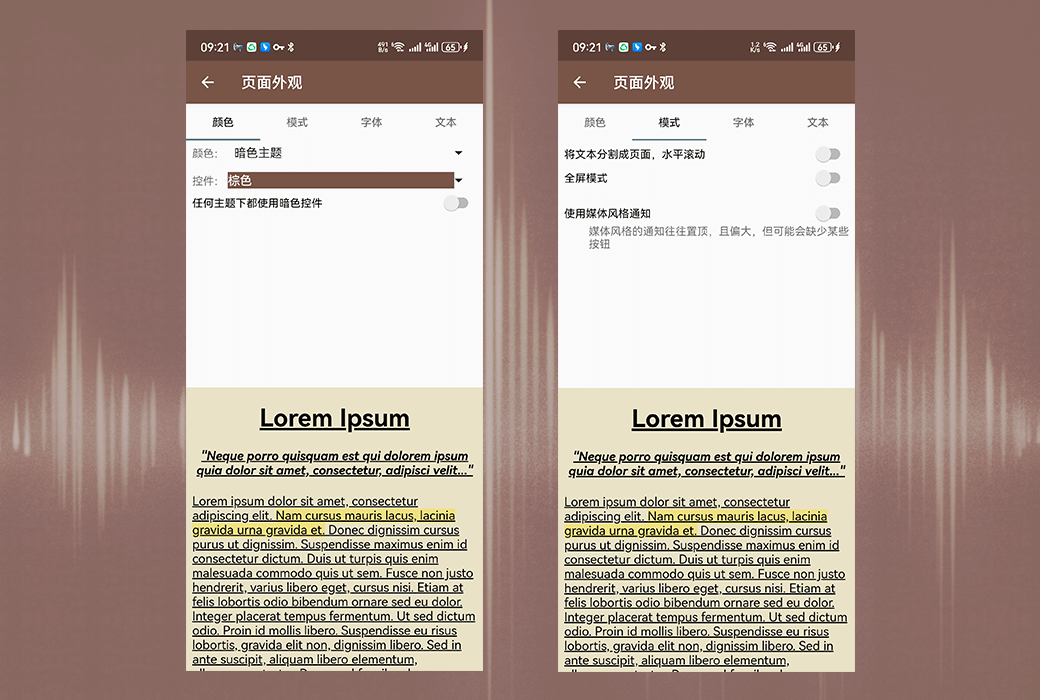
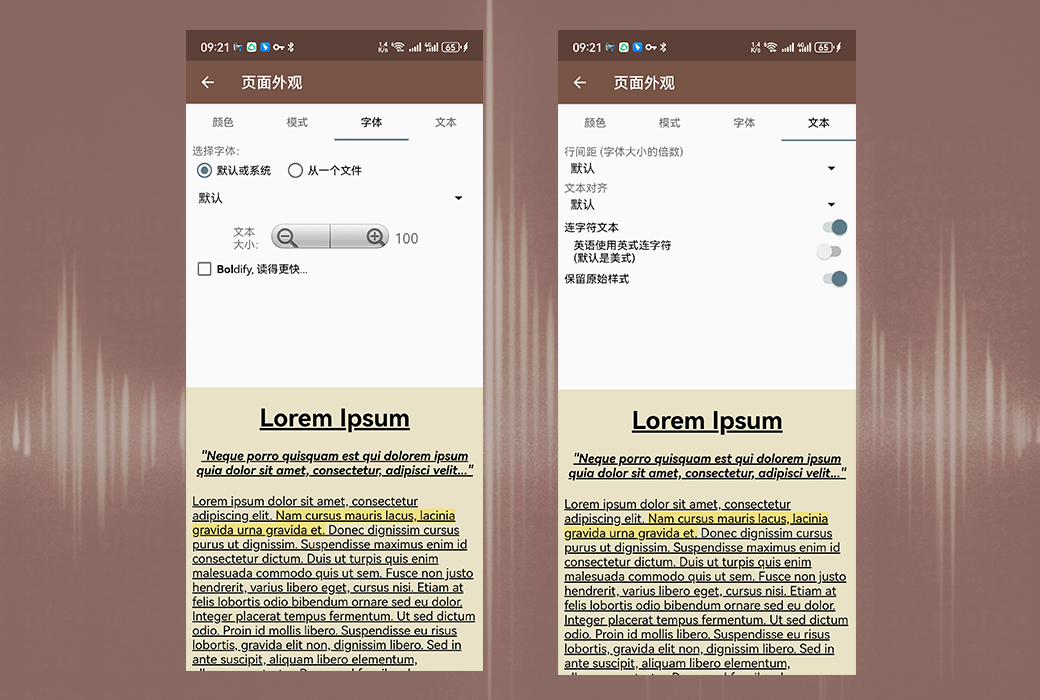
Reading list and e-book catalog access button, text search button, file open button, reload or clear button - a small additional menu used to clear text in the main window, reload it, change viewing parameters, etc. Page view button - used to change screen color, night mode, font and text size, switch from vertical scrolling to horizontal scrolling, etc.
The remaining three buttons on my device are configured by the user (me), namely the bookmark, settings, and paste buttons, and finally the main menu button with three vertical dots.
3. Advanced themes
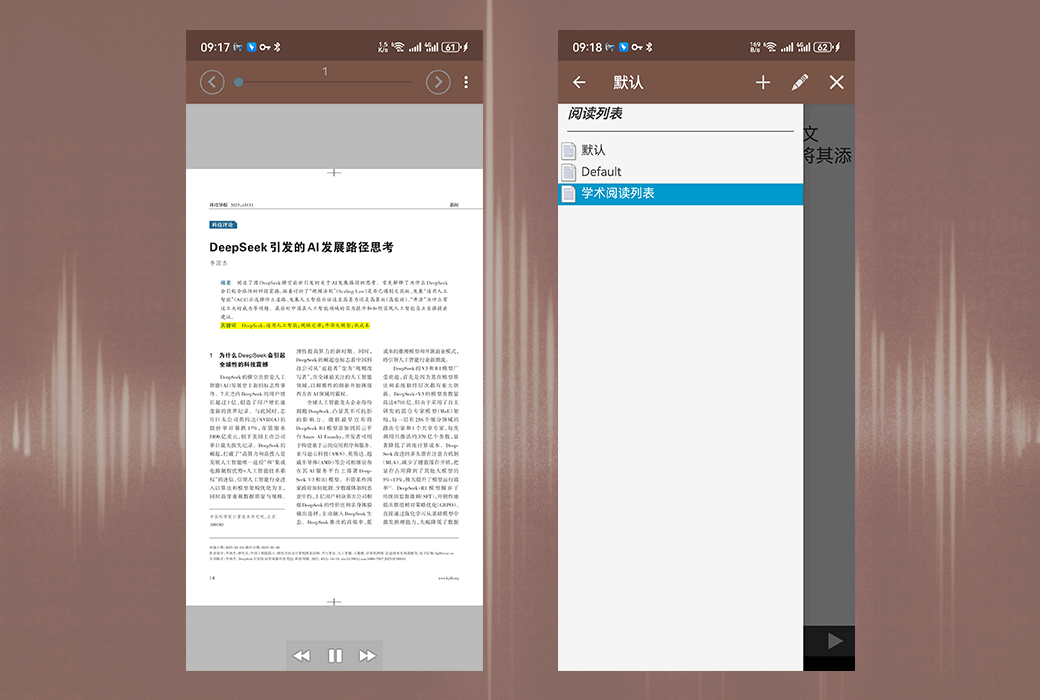
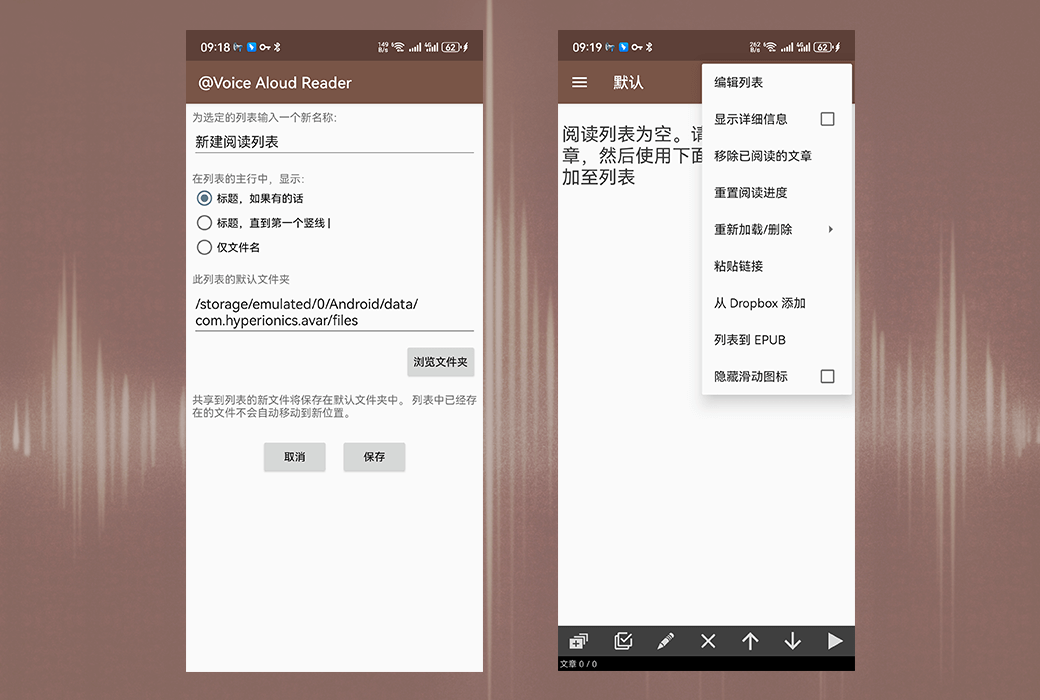
3.1 Reading List
Reading list is one of the most important and useful features of @ Voice. It can be accessed through this button in the menu line. At the bottom of the reading list screen, you will once again see a row of buttons to manage it - add new files to the list (+button), remove files from the list (X button), move selected articles up or down in the list (blue arrow), and start reading selected chapters (blue triangle).
+The button will take you back to a file manager screen where you can mark files to add and remove from the list, as well as other file management options such as selecting all or no files, deleting selected files, and moving selected files to other folders.
Once you start reading the selected article from the list, the program will sound a gong and continue reading the next article after completing that article. You can also swipe horizontally on the @ Voice home screen to go to the next or previous article in the list, or long press the next/previous button on the headphones for cross article navigation.
3.2 Text loading options
By default, when you send a webpage or news article to @ Voice, it will attempt to extract only the article text and skip menus, navigation links, ads, and perhaps reader comments on the page. This feature may work correctly for 95% of web pages and articles, saving you time listening to boring parts, but it is almost impossible to make it 100% accurate. If you open a page in @ Voice and find some text missing, click the reload or clear button at the top and select the "Load Full Page Text" function. @Voice will now display all the text found on the page. After such a switch, you can use the menu again at any time and switch back to the "Important Text Only" option when needed. If you save an article, @ Voice will also remember how you want to read it (full text or only important text), and the next time you open it, it will load in the same way.
3.3 Setting Language and Voice
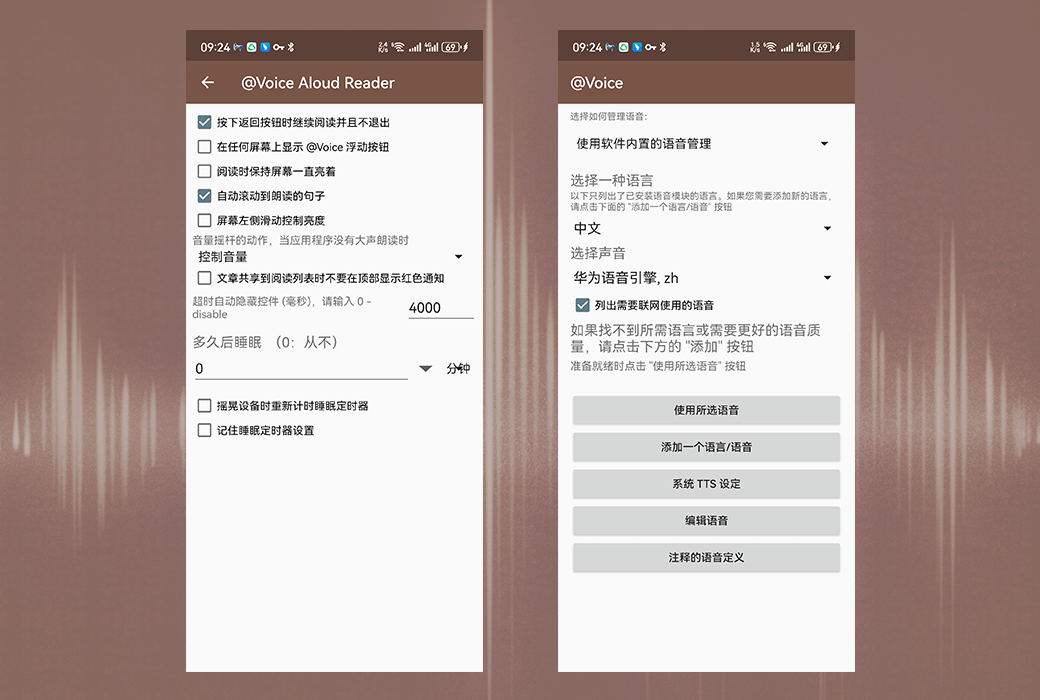
By default, @ Voice automatically recognizes the language used in any given article and selects the corresponding synthesized speech to read it aloud. If you want to manually set the language, or at least for some speech synthesis engines - manually select one of several voices for a given language - press the circular button with an up arrow in the bottom right corner, and then press the "Change Voice or Language" button.
3.4 Settings
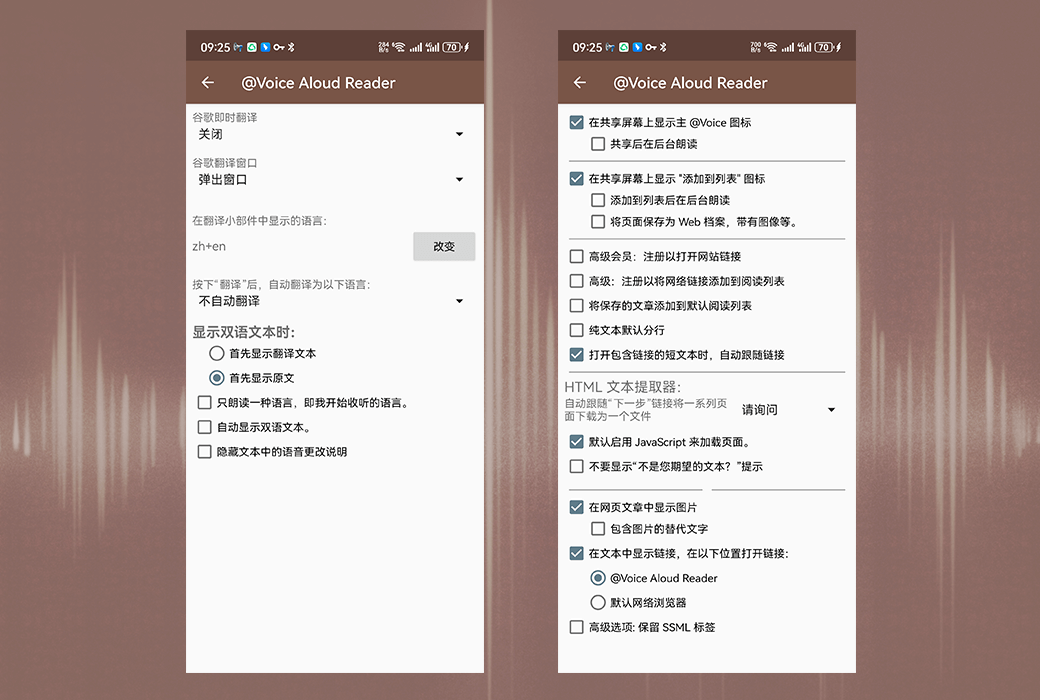
Under this menu function, you can further customize the operation of @ Voice - view all given options and make changes as needed. The options include:
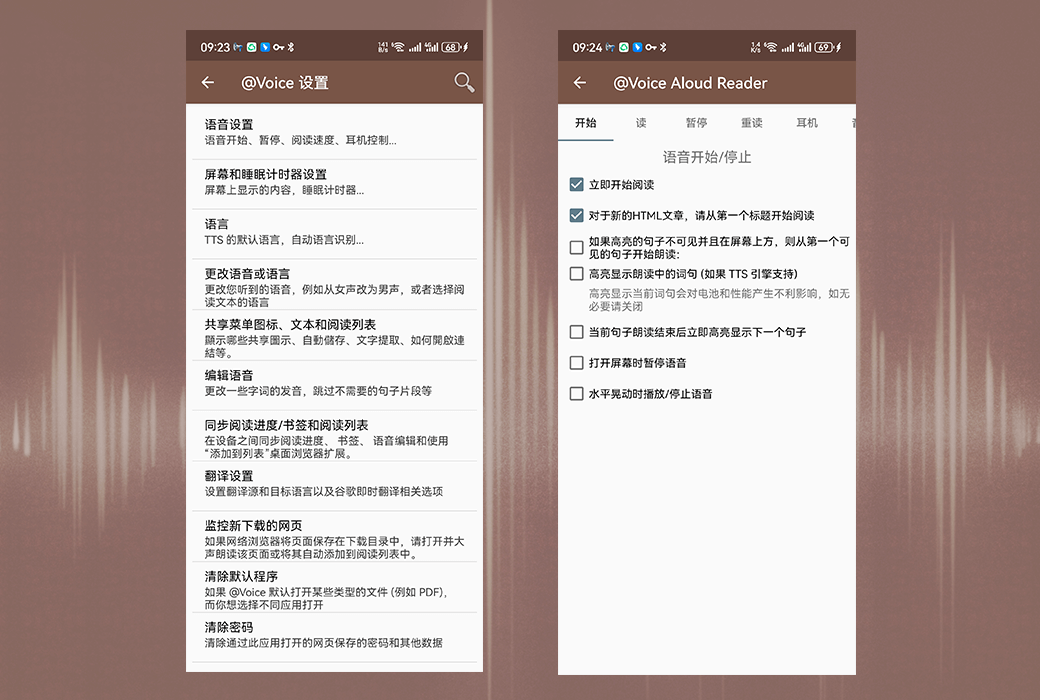
Voice settings - determine whether @ Voice starts reading immediately when you open it or a new article, or waits for you to press the 'play' button. This screen also provides options related to different headphone button operations, sleep timers, and more.
Text, icons, and reading lists - choose which @ Voice icons should appear on the "Share Through..." system screen, whether you want saved articles to be automatically added to the reading list, whether to display zoom controls, etc.
Dropbox Sync Settings - Customize options related to Dropbox sync, such as continuous sync or on-demand sync, sync only in WiFi environment to save data costs, etc.
@Voice folder location - If necessary, you can move the folder location where @ Voice is used to save articles and settings, such as to a removable SD card.
TTS Settings - Open the system screen to change TTS settings, such as selecting different TTS engines.
4. Useful links
For its "Edit Voice" function (in menu settings), @ Voice uses the following specific regular expression implementation, although any online regular expression reference or tutorial can be used:
http://www.regexlab.com/en/deelx/syntax.htm
5. Video tutorials
Instead of reading long paragraphs about how to use @ Voice, you can watch our three short video lessons, each about 5 minutes long. These tutorials are only available in English and were recorded using an older version of @ Voice Aloud Reader, but most of the content is still valid. Please watch by clicking on the following link:
- Course 1- Menu and Control
- Course 2- Obtaining Content
- Course 3- More Controls and Settings
Welcome to provide improvement suggestions and report errors - please send them to the email address below. Thank you for your support, and I wish you a pleasant use!
Original text from:https://hyperionics.com/atVoice/manual.html
Published on 23 小时前
广东
 @Voice Aloud Reader Offline Text Voice Reader Tool Software